
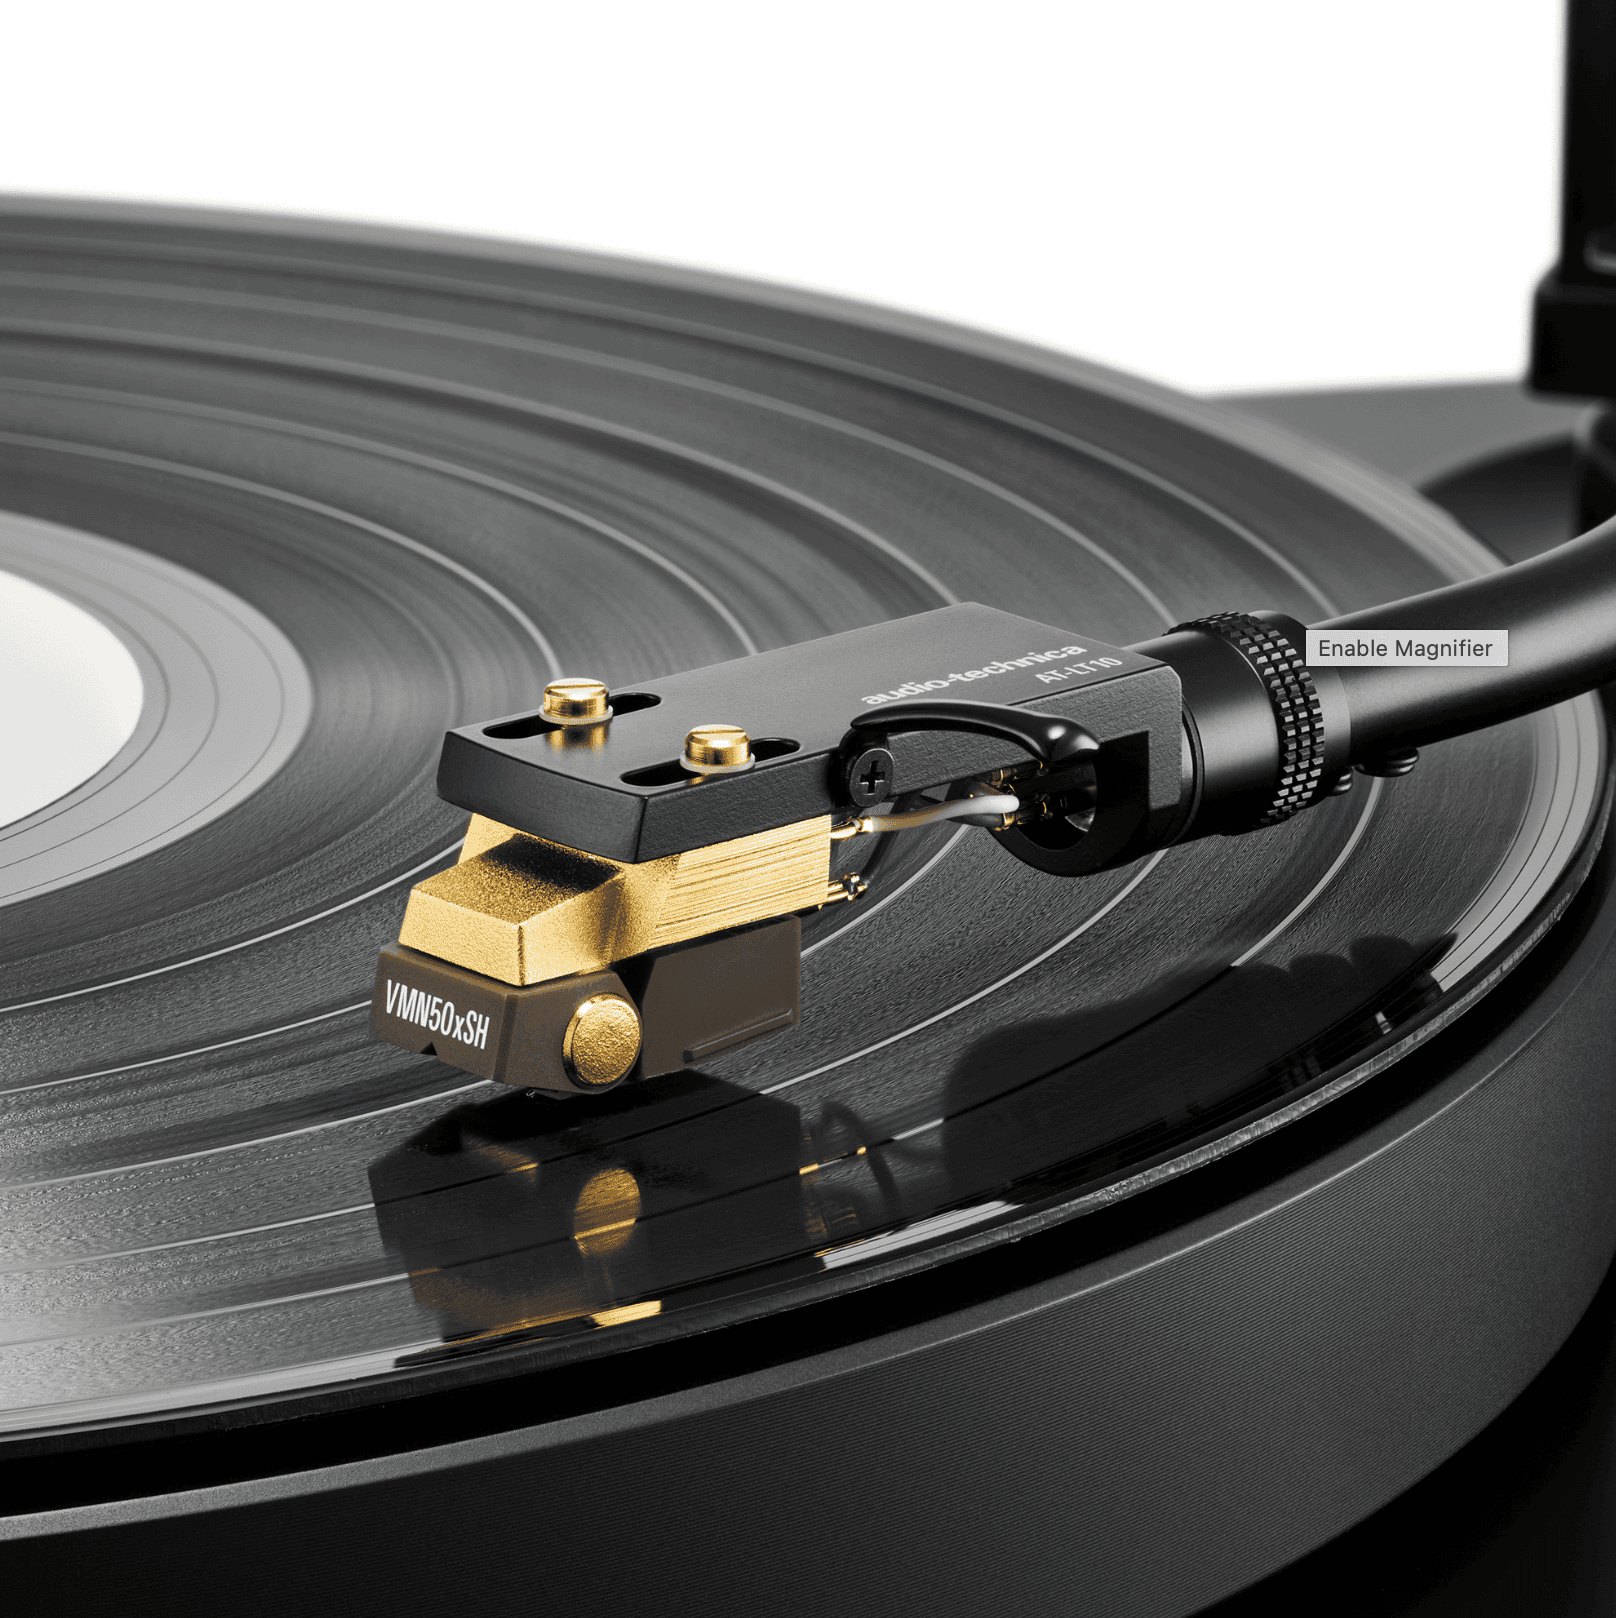
Cartridge alignment starts with careful mounting and wiring. Learn how overhang and geometry help your stylus follow the record groove.
A new cartridge can transform a turntable, but the small screws and fine wires make fitting it look more intimidating than it really is. Take your time: correct installation helps the cartridge track properly and protects your records. Here is how to approach mounting and adjustment.
1. Mount the cartridge on the headshell
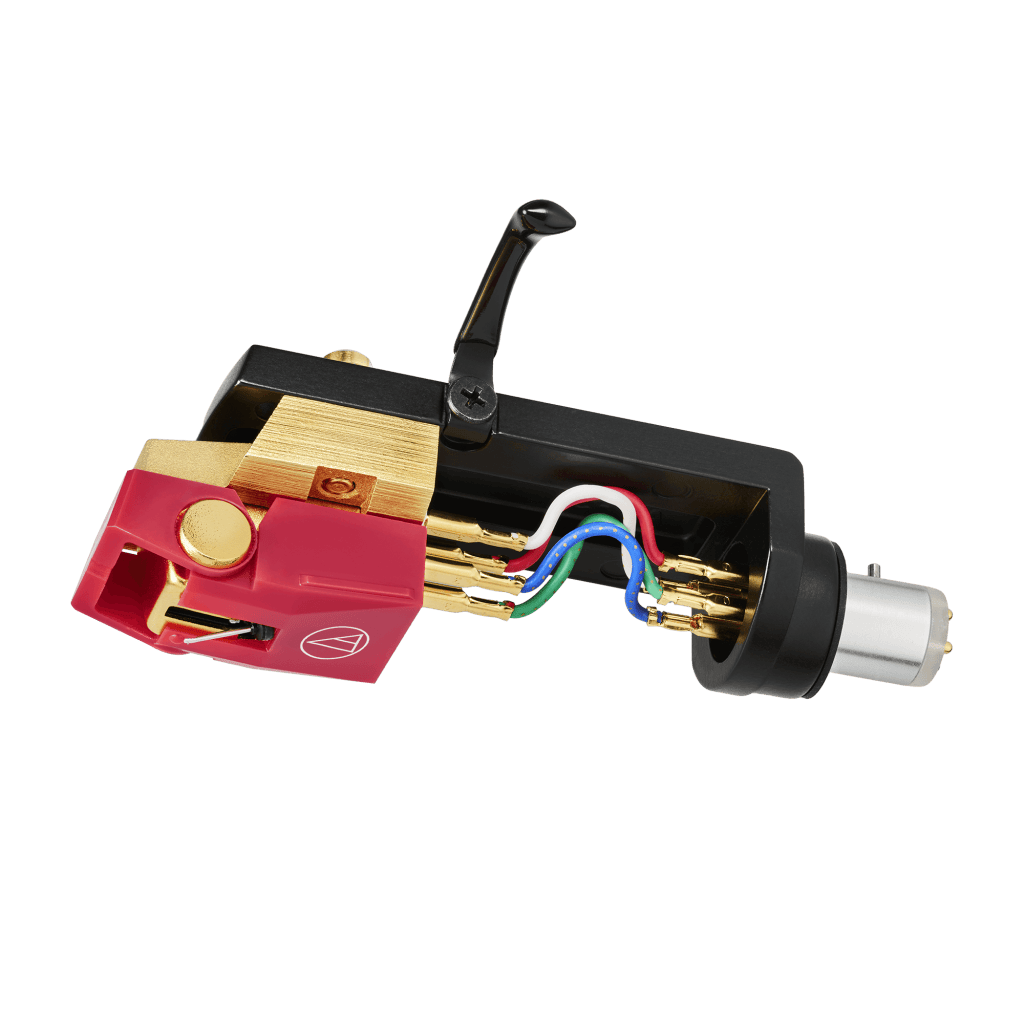
Use the screws and hardware specified for the cartridge and headshell. Keep the stylus protected while handling the assembly. Fit the screws loosely enough that the cartridge can still slide in the mounting slots: you will need that movement when setting its position. Do not fully tighten everything before alignment.
2. Connect the four wires
Hold each connector with suitable fine tweezers or pliers; never pull on the thin wire itself. Check the markings on the cartridge rather than relying on position alone. The usual colour coding is:
- Red: right channel positive, R+.
- Green: right channel return, R−.
- White: left channel positive, L+.
- Blue: left channel return, L−.
Push the connectors carefully onto the corresponding pins. A loose or incorrect connection can cause a missing channel, hum or incorrect stereo reproduction.
3. Align with the correct template
The cartridge must sit at the right distance and angle for the tonearm. Follow the turntable or tonearm manufacturer's alignment method, using its specified gauge or protractor. With a suitable two-point protractor, position the stylus at the indicated points and check that the cartridge or cantilever aligns with the reference grid. Adjust the cartridge in the headshell slots until the prescribed checks agree.
If printing a template, print at 100% actual size, with page scaling disabled, and verify its reference measurement before using it. The template must be appropriate for your tonearm geometry. Obtain the correct template from your turntable manufacturer; an arbitrary printed grid is not a substitute.
Once alignment is correct, tighten the screws gently and evenly without moving the cartridge, then recheck the alignment. Avoid excessive force.
4. Set tracking force and anti-skating
Follow the cartridge's specified tracking-force range. Where the arm requires it, balance the arm first, zero the scale ring and then set the recommended force. Many cartridges use forces around 1.5–2 grams, but this is not a universal setting: the manufacturer's specification takes priority. A stylus-force gauge is useful for verification.
Set anti-skating according to the turntable instructions. A dial value matching tracking force is a common starting point, but different mechanisms and cartridges may require a different method.
Why careful adjustment matters
Correct mounting and alignment help reduce distortion, especially towards the inner grooves, and avoid unnecessary stylus and record wear. If a record mistracks or sounds unusually distorted, stop and recheck the setup rather than compensating with an arbitrary increase in tracking force. A little patience at installation pays off every time you listen.